
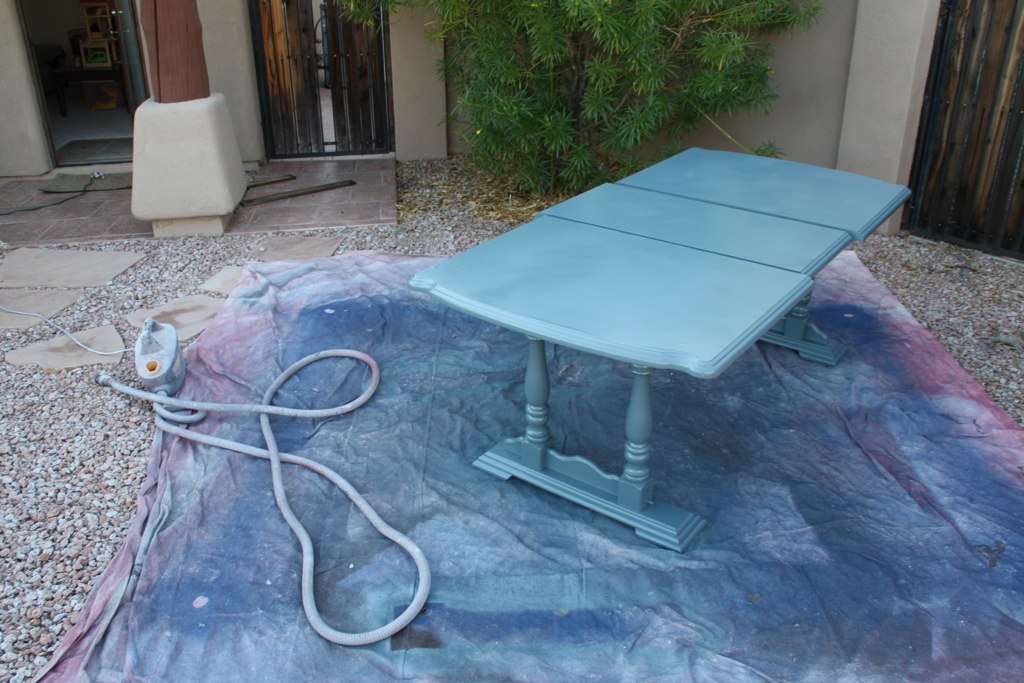
I got this table from Craigslist . . . for FREE. I don't have a "before" picture because I am impatient. I go full steam ahead on a project; not stopping for anything! It initially looked like a large chess board--you will just have to take my word for it. So, it started out Oak-colored, then became this blueish-gray color. That made me feel like it needed a chicken to be toll painted on it though, which is a little too much like my mom's house circa 1985.
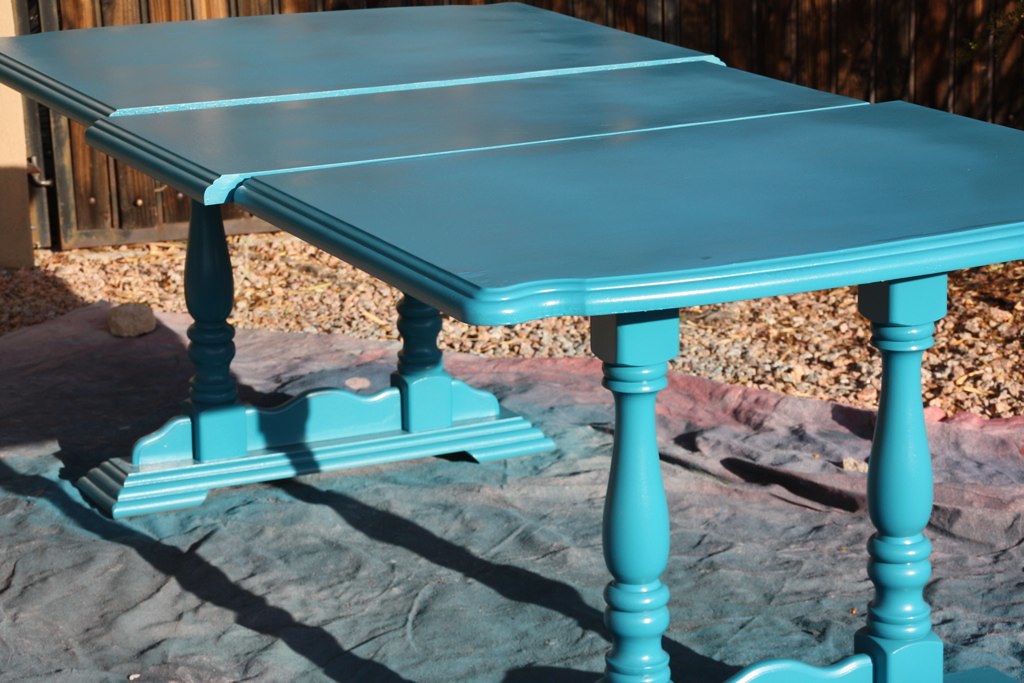
Next it became this peacock blue color which was too teal in my opinion. I used my trusty Wagner sprayer. I've used this $100 dollar sprayer for years and it always delivers. There is a bit of a learning curve so don't be disappointed if you struggle with it for awhile. I've found that thinning the paint is a very important step. I generally use oil-based paints as I feel that they give you a smoother, more sturdy finish.
 |

Finally it became this; a dark navy. I want to be the person that has the super-bold colors in her home, but I always seem to gravitate to the classics. I'm still figuring out what I want on the walls and the bulletin board but I'm happy with the desk part of the project.
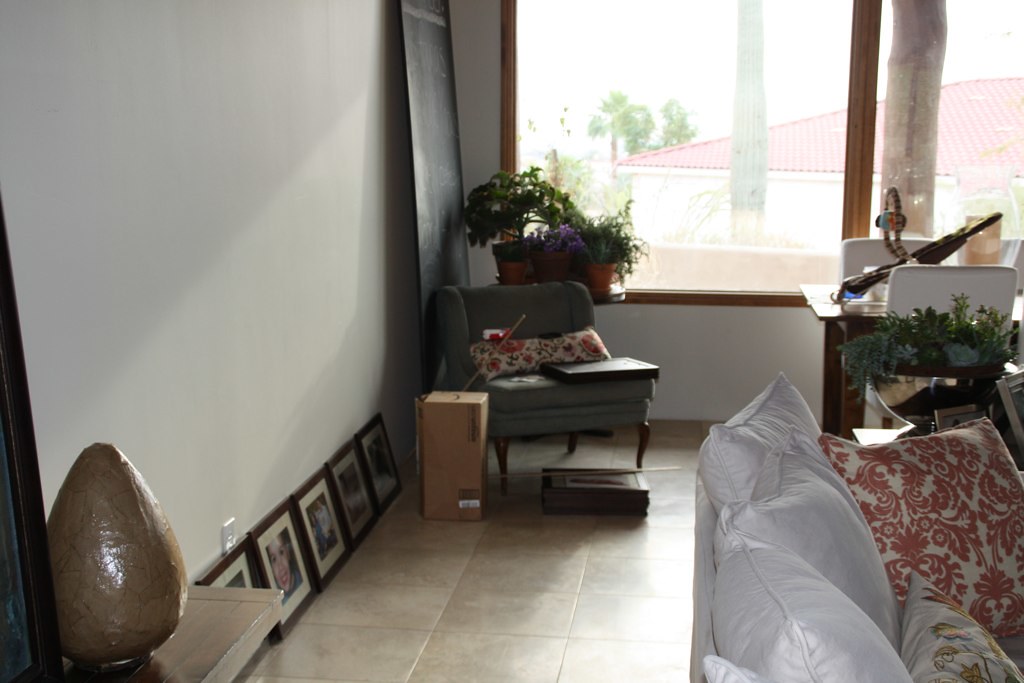
Next up, a photo wall: done the easy way.
I started this project at 5:00 p.m., pizza for dinner!
 |
Okay. What I do first is, get kind of a vague idea of how high I want the top row and how low I want the bottom row to be hung. If you're a perfectionist, . . .look the other way.
Then I use heavy duty Velcro and attach it to the upper corners and bottom middle of the frame. I mark on the wall with pencil along the bottom of the frame to guide me where to line it up. Then I get my leveler device thingy and set it along the top of the frame as I carefully approach the wall. Holding both sides of the frame, I even up both of the sides to keep the picture level, then I push it in firmly to the wall. The hardest part is done.
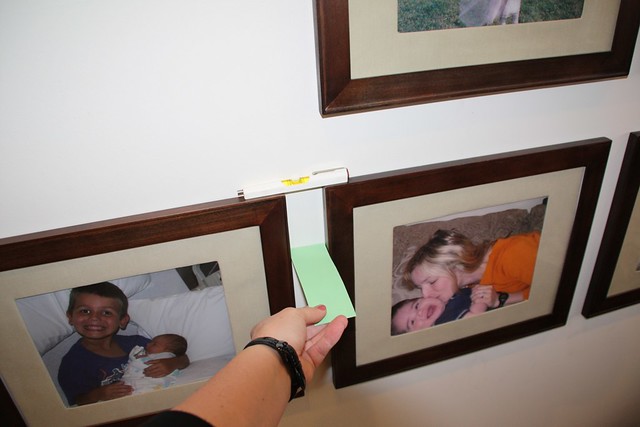
I like the distance between the pictures vertically to be half the distance between the pictures horizontally. Got that? So mine is 1-1/2 inches between pictures side-by-side (vertically) and 3 inches between pictures up-and-down (horizontally). So I get a piece of cardstock or cardboard (anything will work just use something firm), and I cut them out according to how far apart I want them to be both ways. That means I have two different widths of cardstock. Still with me?
Then I get the next picture all ready to go with the velcro but don't take off both sides of the sticky yet, just adhere it to the frame. I go to the wall, put the piece of cardstock between the two pictures and the leveler ontop between the two pictures (as demonstrated). Then once I see that they are level and the correct distance from each other (I do this with one hand pushing the picture against the wall, and the other holding the cardboard piece I've cut.) Then you take a pencil out, which has been patiently waiting for you while resting on your ear. And you put two little dots along the corners of the bottom of the frames on the wall. Take the frame off from the wall, remove the velcro covering, thus revealing the sticky part. Find the two little dots, align up your picture with them and push your frame onto the wall.
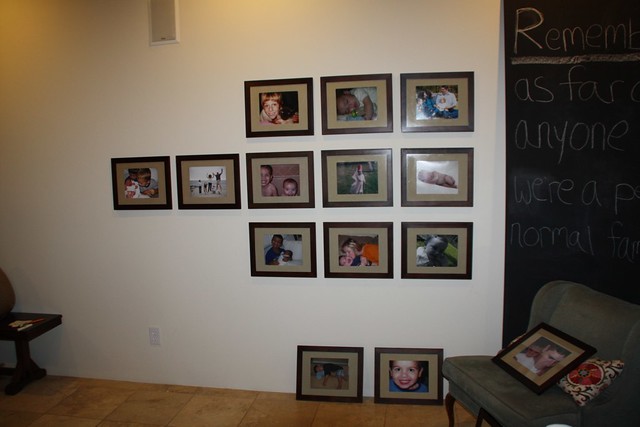
Repeat. Repeat. Repeat. Repeat. Repeat. Repeat. Repeat. Repeat. Repeat. Repeat. Repeat. As many times as your little heart desires. I did the pictures along the bottom row first then proceed to my middle row. The process of aligning pictures horizontally is the same except you place your leveler along the outside of the two frames, making sure that they line up correctly. You will need to do this for the middle and upper rows. Align them vertically and horizontally that is, but you probably already knew that because you're awesome.

Viola!

Some eye candy at the end for you. :)
wait, i adore that teal table! bring it back!
ReplyDelete